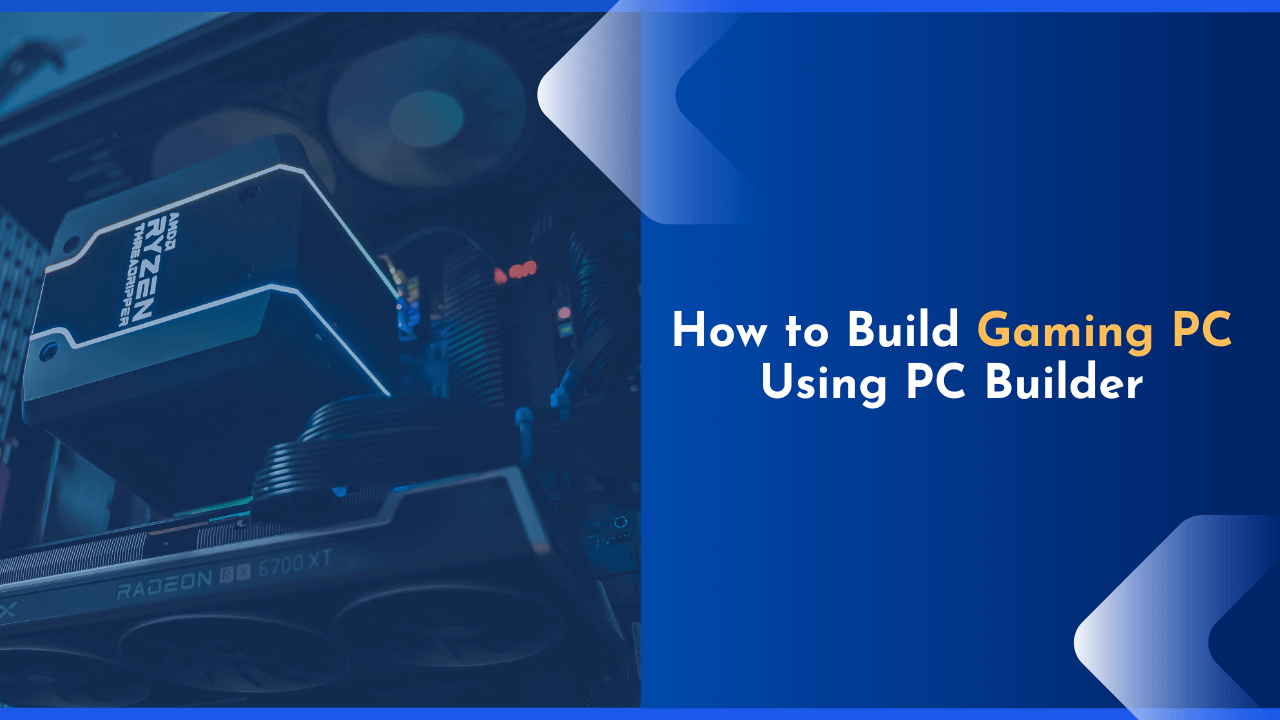

Are you looking to build your first gaming PC but not sure where to start? Or maybe you are unclear about which components are compatible with each other? I understand that there are so many choices and terms that can be overwhelming.
But don’t worry, because in this guide I’m going to show you how to build your gaming PC step-by-step using PC builder. By the end of this guide, you’ll know exactly what parts you need and how to put it all together.
So, let’s get started, shall we?
PC Builder – An Introduction
Building your own gaming PC can be a rewarding experience. Not only do you get to save money by choosing your own components, but you also get the satisfaction of knowing that you built it yourself.
To start with, you need to decide what parts you will use, and what you are going to do with them. This can be a daunting task if you’re new to gaming PCs, but luckily there are plenty of resources available to help you out. The PC builder tool is a great resource for picking out parts for your PC. By using this online tool, you will be able to select compatible components and you will also be able to quickly determine how much your final build will cost.

PC Builder
If you are interested in getting started with PC builder, you can go to their website and choose the components you wish to use for your build. As soon as you have selected all of your components, PC builder will give you an estimated price for your build.
Sounds too simple, doesn’t it? That’s because it is!
PC builder takes all of the guesswork out of building your own gaming PC. Now that you know how to use PC builder, let’s get to work and build our PC together!
How to Build Your Gaming PC (Step-by-Step Process)
It’s not difficult to build a PC, as many people believe. It is quite simple and anyone can accomplish it with a little knowledge of computers. In this part, I’ll walk you through building your gaming PC from start to finish using PC builder.
Before we get started, there are a few things you should know about PC Builder and its features.

System Builder
When you’re on the PCBuilder System Builder page, there are a few things to remark. On the top left side, there is a unique rig link for your build, which you can use to share your build with your friends and family for suggestions, as well as a country option on the right that displays products available in your country alongside their price in your local currency.
Now, as you’re aware of these things, let’s get started with our build!
1. Choosing a Processor
First of all, you need to start by selecting a processor, which is also known as a CPU. A processor is the brain of your computer, and it has a significant impact on the overall performance of your computer build. And to pick a processor, click the “+ ADD Component” button that appears immediately after the “CPU” name.
There are two major types of processors: Intel and AMD. Both offer a variety of models at different price points, so it’s important to do your research to find the best option for your needs.

PCBuilder’s CPU Page
On the CPU page, you’ll see a list of various CPUs to select from. In addition, on the left sidebar, you’ll find several filters that allow you to organize the list of processors by your criteria.
Here are some of the options you’ll find on the product page:
- Unique Rig Link: This is a link that can be shared with others so they may provide feedback or suggestions for your build.
- Search Field: By using this, you will be able to quickly find the processor of your choice.
- Country: This is the country in which you live. Choosing your country is important, as it will ensure that you are only shown products that are available in your country.
- Filters: You can use these to narrow down the list of processors based on socket type, brand, price, etc.

Selecting AMD Ryzen 9 5900X
As I am setting up a gaming PC for myself using the AMD Ryzen 9 5900X processor, then I will enter the processor name in the search field (or I will search from the table manually), and then I will click on the “+” button to add the component in my list.
2. Selecting Motherboard
Now that you have a processor, it’s time to choose a compatible motherboard. The motherboard of your computer is the foundation of your entire system, and all of your other components will be connected to it. To select a motherboard, click on the “+ ADD Component” button next to the “Motherboard” option.

Selecting Motherboard
On the motherboard page, you’ll only find a list of compatible motherboards to choose from. Use the filters on the left sidebar to narrow down the list based on form factor, chipset, socket type, price, and many other factors.
As I wanted to build a motherboard with an ATX form factor (which is the most popular size), so, I’ll select that option from the filter and I’ll be shown a list of all the available ATX form factor motherboards.

ASUS TUF GAMING X570-PLUS (WI-FI)
Here, I’m picking “Asus AM4 TUF Gaming X570-Plus (Wi-Fi) Motherboard,” which is compatible with my AMD Ryzen 9 5900X CPU and has several added features including PCIe 4.0, Dual M.2 Slots, and Built-in WiFi.
💡 Keynotes;
Some motherboards may require a BIOS upgrade in order to work with the latest processors, especially with the AMD Ryzen 5000 series.
So make sure to check the BIOS version and update it if necessary before installing your processor.
3. Selecting an Ideal Case
After you’ve chosen a motherboard and processor, it’s time to start thinking about what kind of case you want for your PC. The case is the enclosure that holds all of your components, and it comes in a variety of sizes and styles.
Some of these dimensions are as follows:
- ATX Full-Tower Case: These cases offer the most area for expansion and are therefore preferred by some builders. A full-tower case is a superb choice if you intend on performing many upgrades in the future or utilizing many graphics cards.
- ATX Mid-Tower Case: Mid-tower cases are a nice balance between size and expandability. They’re big enough to accommodate the majority of components, but they’re not so enormous that moving them around becomes difficult.
- ATX Mini-Tower: The smallest ATX case option is a mini-tower. They’re perfect if you’re looking to save on space without sacrificing too much expandability.
- MicroATX Mid-Tower: MicroATX cases are similar to ATX mid-towers, but they’re a little smaller. They may still accommodate the majority of components,
- MicroATX Mini-Tower: The MicroATX mini-tower is the smallest option for a microATX build. They’re good if you want a tiny form factor or if you’re on a limited budget.
- Mini ITX: Mini ITX cases are the most compact option available for any PC build. If you’re building a tiny PC or want the most portability possible, then a mini ITX case is the way to go.

NZXT 510i
Because we’ve chosen an ATX motherboard, it’s only compatible with ATX and MicroATX. So I’ll choose the “ATX Mid Tower” option from the filter, which will display a list of all available ATX mid-tower cases. And as I wanted a sleek and attractive case, I’m going with the NZXT H510i Mid Tower Case.
To add this component to my list, I’ll click on the “+” button to add the component.
4. Choosing a Powerful RAM
Once we’ve decided on a case, it’s time to look at one of the most important components of any PC build: RAM. RAM is responsible for storing data that your processor is currently working on and is responsible for speeding up your system’s overall performance.
Selecting RAM for your system is straightforward. Click the “+ ADD Component” button next to the “RAM” option. On the RAM page, you’ll see a list of all available RAMs to choose from. Basically, RAM comes in a variety of speeds, latencies, sizes, and colors, so you can narrow down the list using the left sidebar’s filters.

Corsair Vengeance LPX 16GB
As I was building a gaming PC, I needed RAM that had a lower CAS latency, so I excluded results with a higher CAS latency. Typically, you will find RAM with a CAS latency of 10-20, but if you intend to play games, you should be looking for a CAS latency of 16 or less.
The second thing I wanted was a RAM with good overclocking potential, so after setting the CAS latency to 16 or less, I will search for RAMs with good overclocking power. This ensures that the RAM will be able to handle any future overclocking that I may perform on my CPU in the future.
After applying all the filters, I was left with a handful of results, but I eventually settled on the Corsair Vengeance LPX 16GB (2x8GB) DDR4-3200MHz C16 RAM Kit. I selected this RAM because the price was reasonable, was compatible with my motherboard, and had some good reviews on eCommerce sites
5. Choosing Reliable Storage Option
Now that we’ve chosen a case and RAM, it’s time to look at storage. Storage is important because it’s where you store all of your data, such as your operating system, games, programs, etc.
There are two primary types of storage: HDD (hard disk drive) and SSD (solid-state drive).
- The most common type of storage is HDDs, which have been in use for many years. They’re slower than SSDs but cost far less per GB. If you want to save money or have a large amount of data, an HDD is a smart choice.
- SSDs are more reliable and have faster read/write speeds than HDDs. They’re also more expensive per GB, so they’re not suited to large storage needs. However, if you can afford it, an SSD is definitely the way to go.
When you choose the SSD option, you will have a variety of choices to choose from. Some of the most popular options available for storage are SATA-based, PCIe-based, or PCIe-based with NVMe support.

Samsung EVO 970 – 1TB
Generally, SATA-based SSDs are by far the most affordable alternative, but they’re also the slowest (the top speed for these SSDs is 500-600 Mbps). On the other hand, the PCIe-based SSDs are faster than SATA-based SSDs, although they are more expensive.
And the PCIe-based SSDs with NVMe support are the fastest type of SSDs available, with speeds approaching 5x faster but with slightly expensive pricing.
I decided to go with a PCIe-based SSD with NVMe support since I wanted the best possible performance for my gaming PC. I went with Samsung’s 970 EVO Plus 1TB PCIe NVMe M.2 2280 SSD. This SSD had a fast read speed (3500 Mbps) and was reasonably priced for the amount of storage it provides.
💡 Keynotes;
Depending on your budget and needs, you can choose from a variety of storage options. For optimal performance, we recommend getting at least a 128GB PCIe NVMe-based SSD for your operating system, and a SATA-based SSD or HDD for your storage needs.
If you have the budget, you should get an SSD since the performance difference is night and day compared to HDDs. If you’re on a tight budget, we recommend SATA-based SSDs as they’re more affordable than PCIe-based SSDs.
6. Adding Graphics Card to Your Gaming Rig
After the storage, the only major components left are the graphics card and power supply. The graphics card, also known as a GPU, is responsible for generating the images on your screen. As long as you do not use a graphics card with your computer, and you are just relying on the integrated graphics (which is not common with AMD chips), your PC will only be able to run basic tasks and some light gaming.
In order to enjoy a smooth gaming experience or to be able to edit videos, you need a graphics card. There are two major types of GPU currently available on the market:
- AMD, and
- NVIDIA.
Both companies offer a wide range of graphics cards, from entry-level to high-end.

MSI RTX 3080 Ti Gaming X Trio 12GB
If you’re on a budget, the AMD Radeon RX 5600 XT or the NVIDIA RTX 3060 Ti are excellent alternatives. These cards are reasonably priced and can play most games at medium to high settings. For gamers looking for the utmost performance, an AMD Radeon 6800XT or a NVIDIA RTX 3080 are ideal. These cards are rather costly, but they’ll allow you to play games on ultra settings as well as do some 4K gaming.
I’ve chosen the NVIDIA RTX 3080 Ti because it was the best graphics card which is capable of playing 4K games. So, I went with MSI RTX 3080 Ti Gaming X Trio 12G. Once I’ve selected the product, I’ll click on the “+” button to add to my list.
7. Power Supply is the Last Major Component
After the graphics card, the last major component you need is the power supply. The PSU (power supply unit) is responsible for supplying power to all the components in your system. Without a proper PSU, your system will not be able to function.
There are two main types of PSUs:
- ATX, and
- SFX.

Corsair RM 750 Series
The ATX power supplies are the most common and they come in a variety of wattages. For example, a 500W PSU is enough to power a mid-range system, while a 1000W PSU is enough to power a high-end system. On the other hand, SFX PSUs are smaller in size and they’re usually used in smaller form factor PCs. For example, a mini-ITX build.
I went with an ATX power supply since I wasn’t restricted by size. I went with the Corsair RM 750 Series because it’s a very reliable PSU and it’s fully modular, which means that I can only connect the cables that I need, making the build much cleaner.
8. Cooling Fans & Cables
Now that all the major components are in place, it’s time to add some cooling and do the cable management. The CPU and graphics card generates a lot of heat, so it’s important to have good cooling in your system.
There are two main types of coolers:
- Air Coolers and,
- Water Coolers.
Air coolers are the most common type of coolers. They’re usually cheaper and easier to install than water coolers. Water coolers, on the other hand, are more effective at cooling, but they’re also more expensive and harder to install.

Corsair Hydro Series H100i
I went with an air cooler for my build. I chose the Corsair Hydro Series H100i because it’s a very good air cooler and it’s fairly easy to install. After the cooling is in place, it’s time to do cable management.
💡 Keynotes;
It’s not always necessary that all CPUs include a stock cooler, so keep in mind the cost of a decent cooler when shopping for a decent CPU.
Cable management is important for two reasons:
- It makes your build look much cleaner and,
- It helps with airflow.
If you have a lot of cables in your system, it’s going to block the airflow and make your system run hotter.
To do the cable management, I first took all the cables that I needed and routed them behind the motherboard tray. I then tied them together using zip ties and bundled them up so they wouldn’t be in the way.
After that, I went ahead and plugged in all the cables to their respective components. And that’s it! Your gaming PC build is now complete.
Now it’s your turn!
So, there you have it. That’s how you can build your own gaming PC using the PC builder. I hope you found this guide helpful and that you now feel confident enough to build your own system.
If you have any questions, please feel free to leave a comment down below and I’ll be happy to help. Also, if you found this guide helpful, please share it with your friends and family.
Happy building! 😎