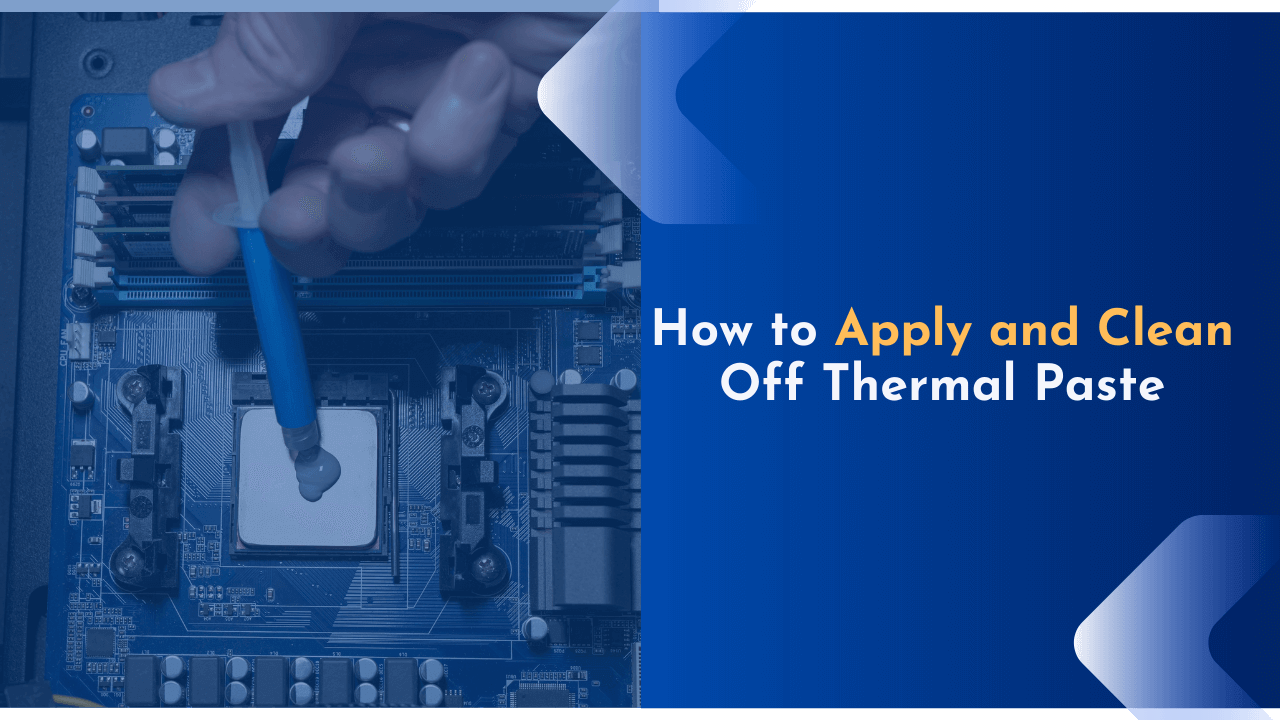
Are you facing the heating issue and talking to replace your CPU’s thermal paste? If yes, then this article is for you. Below in this article, I have shared how you can quickly clear thermal paste off the CPU. Follow the below instructions carefully to be done with it.
If you are a gamer, you must know that various computer components release heat during continued gaming or uses. Excessive heat generation poses a threat of damage to many sensitive parts of the computer. Overclocking is the process of forcing the computer to run faster than intended, further disrupting the cooling system of the PC.
Well, heatsinks and thermal paste are accountable for retaining the cooling system. Overheating is controlled by a process, and thermal paste conducts the heat from the processor to the heatsink, which expels the excess. Thus, thermal paste assumes a high position in the whole cooling mechanism.
Therefore, it should get properly placed accompanied by a regular cleaning routine.
How To Clean And Reapply Thermal Paste?
Often the thermal paste of a system dries out over the period. Implying it should get changed from time to time for proper cooling. As it is said, the cooler the system, the better it will function. Cleaning out the old paste involves a few following steps to ensure your and your computer’s safety.
Prepare for Safe Working
Before reapplying or cleaning thermal paste, there are a few things you should’ve to be remembered. Here we’re sharing a few points you need to consider before cleaning or applying thermal paste.
1. Switch Off the Power:
To disconnect the power of your computer, open the home screen to access the main menu. Then press the shutdown button. This step ensures that your computer has not entered sleep mode but no power mode. Hitting off the power button might be one of the existing solutions, but following a series of steps gets advised.
2. Disconnect all Cords and Devices:
The next step for safe working is disconnecting your system from any connected cords or devices. If you are working on a laptop, unplug the charge if plugged. And in the case of a PC, make sure you remove the power plug.
3. Remove the Battery:
All laptop users are battery owners. Turn over your device and locate the battery compartment. Such batteries should get removed before working with thermal paste. Remove the lid, followed by the release of the latch, and then set it aside.
4. Remove the Excess Power:
Press down the power button for ten seconds after shutting down the system and removing the batteries. Usually, some electricity doesn’t make it out even when the power gets unplugged. So, this step aims at discharging the remaining electricity if present.
5. Put On Safety Gear:
While working with the machinery, it is recommended to put on some safety gear like latex gloves. It prevents your skin oils from hampering or acting as a hindrance in the normal functioning of components and promotes your utmost safety. Anti-static bracelets also prove to be a great safety gear while working with the computers inside.
6. Make Your Working Surroundings Dust Free:
The minute dust particles might not capture your attention, but they interfere with the computer’s working. So, while you choose your work area, the essential requirement is a dust-free and clean environment.
Following the steps in order ensures complete user as well as machinery’s safety. Before anything and everything, a safe working environment becomes a very integral part.
Removing the Old Thermal Paste
After ensuring the safety measures, the next part of the process involves removing the old paste. The task is not one of the difficult ones. And by following the stated steps, it gets easier.
1. Consider Your User Manual:
Before accessing your concerned system’s components like heatsinks, etc., consider your user manual as different systems have different ways of working.
The manual has a detailed description of how to identify, access, remove, and re-install the various parts of the system. If you have lost the physical manual over the period, you can access the online manual easily.
2. Clear the Dust From the Vents:
Clearing the dust particles from the removed heatsink is one of the important procedures, and it should be done carefully.
Making one part dust-free doesn’t mean allowing other parts to host the same. Anything suitable for cleaning like a soft cloth, can of compressed air, or a small brush can get utilized for the task.
3. Sweep the Old Paste
Grab a spudger, a small handle tool utilized for pressure cleaning without causing any damage. The flat end of the tool gets used for sweeping out the old thermal paste as much as possible.
You should be cautious while using this tool. If you are nervous about it, feel free to skip to the next step. Also, if you don’t have a spudger, grab a dry cloth or a dry towel.
4. Let No Residue Stay
Whether you performed the last step or not, do not allow any old thermal paste residue to settle. Get some alcohol or a cleaner specifically to dip the one end of coffee filters, lint-free cloths, or q tips.
Then utilize the wet end of the material for moistening, loosening, or removing the old paste. Don’t forget to use fresh material. Repeat the step once more to prepare the base for a new thermal paste.
5. Redo the Last Step with the Processor
While you use a spudger for clearing out the traces of thermal paste, make sure the material of the spudger is plastic. Any other material than plastic might put some scratches on the components of the system.
Also, if you don’t have an appropriate device for sweeping out the paste, don’t attempt it. Often thermal paste gets dried out on various parts of the system; these parts can be hard to reach. So use the tools according to the situation and requirement.
After creating a safe working environment, sweeping out the old thermal paste is equally essential, ensuring the righteous execution of the next step. Before performing any task, following the necessary steps always make it easy and better.
Apply New Thermal Paste
Not sure how to apply new thermal paste? Here we’re sharing some easy ways for doing so.
1. Select a Good Thermal Paste
The market hosts a wide variety of thermal pastes. This variety of thermal pastes indicates the difference in materials used. Besides silicon and zinc oxide being obvious components of thermal greases, some can contain silver or ceramic. Also, silver and ceramic facilitate better heat transmission. You should always look for them while choosing if you perform overclocking regularly.
2. Allow the Heatsink and Processor to Dry
Do not place the new thermal paste immediately as soon as the existing thermal paste gets scraped off. As a final step before placing it, rub off the place with alcohol and allow some time for the components to dry out completely.
3. Spread the Paste
Apply grain-sized gently to the surface where you wish to apply your chosen material. The same step can get performed for the heatsink. But, if your user manual states something else, it is advised to follow that. The thermal paste can get easily accessed on online stores or even electronic stores.
4. Avoid Removing the Heatsink Instantly
You might be curious enough to know whether you have applied the thermal greasing correctly or not. But, no matter how curious you are, do not remove the installed part, and this would lead to a waste of effort, and you will end up performing the whole process again.
5. Connect the Fan with the Motherboard
You can access the function of adjusting the fan speed automatically without causing a change in the fan voltage by connecting the CPU fan wire with the CPU fan socket as it hosts the PWM feature. Now enjoy the smooth functioning with appropriate operating temperatures.
Square Cooler Procedure
The circular base thermal paste installation is an easy task compared to the square cooler procedure. Simply placing the grain-sized pasting and spreading it out will not be working. For the present situation, place the thermal compound in neat two parallel lines, and the lines in length could be a third of the processor’s width.
This arrangement is known as the line method. The next method is the cross method. The name itself projects the arrangement of the lines, that is, in the shape of the cross, and the rest of the above procedure is the same as the previous one.
Frequently Asked Questions
Still, have doubts? Here we’re sharing some FAQs which may help you.
1. Can You Rub Off Thermal Paste?
Removing the thermal paste is one of the tasks that you should perform with utmost care. Simply rubbing off the thermal paste doesn’t prepare the base for the new one. To ensure proper installation of the new component and its working, follow the above state steps in a sequence.
2. Do I Need To Remove The Old Thermal Paste From The CPU?
Yes, if you intend to install a new thermal paste, removing the old one is one of the best ideas. The existing layer might host several bubbles that cause more heat levels and higher temperatures. While fixing the new layer
3. How Do You Remove Dried Thermal Paste?
The thermal paste gets removed with alcohol, nail polish remover, a cotton cloth, a coffee filter, and many more such things. Gently scrape out the paste without leaving any residues. Specific tools are also available for the same task like spudger etc.
4. Should I Wipe Off Old Thermal Paste?
Yes, you should. After getting directed from the system manual, follow the next two parts, and you will achieve it. Old thermal greasing loses the capacity to control the system’s heat levels over time, and this is why you should wipe out the existing one.
5. Can I Clean Thermal Paste With Wet Wipes?
If these wet wipes are alcohol-based, they are compatible with your requirement. But in case you are considering normal-based wet wipes, it might not be a good choice because they possess the power of damaging the CPU. Particular solutions like isopropyl alcohol or nail polish cleaner should be on your shopping list.
Conclusion
Maintaining the heat levels of the CPU is essential for achieving smooth working. The article aims at acting as a perfect guide concerning the re-installation of the thermal component. Do not get misled by the statement that this task requires professional cleaning. If you follow the given steps correctly, the same results as the former can be achieved.
We hope this article about how to clean thermal paste off the CPU is helpful to you. Do share this content on social media if you find it useful for you in any manner.
